The "Making of" a FlexScan monitor
We design, manufacture and quality control test our products in house. In this article, we take you on a step-by-step tour of how our FlexScan EV-Series monitors are made – from assembly to packaging – at our global headquarters in Hakusan, Japan.
1. Piecing it all together: Assembly
All of our FlexScan monitors are assembled in factories in Japan. We use a mixture of both manual and automated procedures to ensure that the quality of each monitor is exceptional.
Here are the steps to assembling a FlexScan monitor:
1.1
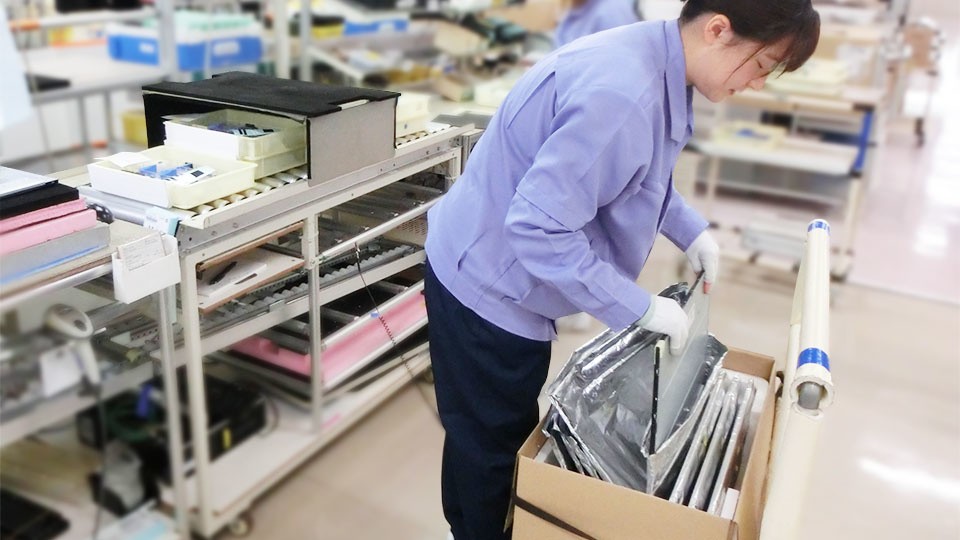
When selecting LCD panels for our office monitors we select carefully and look only for the best quality.
The production process begins. Workers take the LCD panel from a recycled bag and place it on a foam work space to begin assembly. Here a work progress barcode is created for the LCD panel, which will be used to record the assembly history of the monitor.
1.2
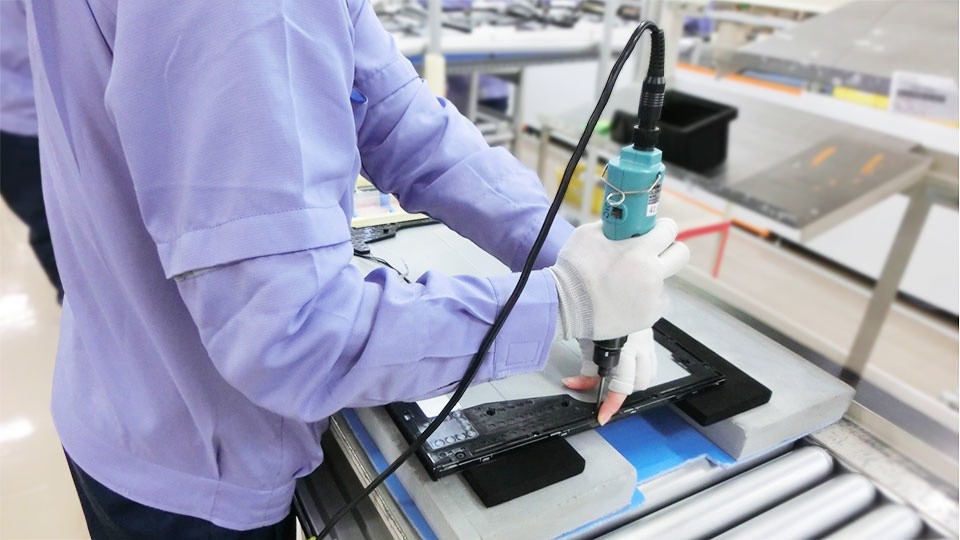
A metal harness is attached to the back of the LCD panel so that components can be attached. Following this, a plastic covering that houses the electrostatic switch and LEDs is attached, including the EV-Series’ miniscule 1 mm bezel to protect the sides of the LCD panel.
1.3
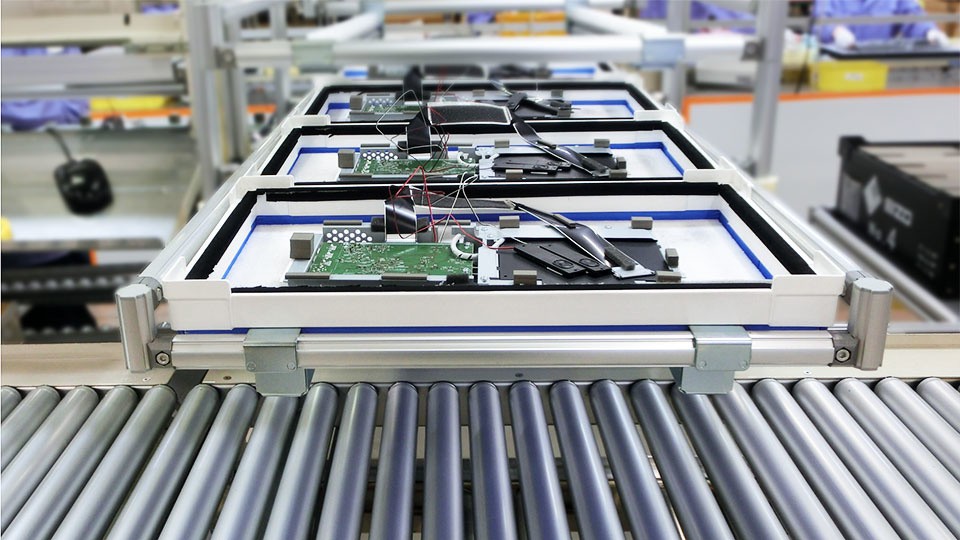
We develop and produce our PCB (printed circuit board) of FlexScan monitors – the cornerstone of a monitor – ourselves and subject them to rigorous testing so that they bring out the best in the panels.
On a separate line, the main PCB, power supply, and speakers are prepared in a specialised housing. This unit is then attached to the rear of the LCD panel.
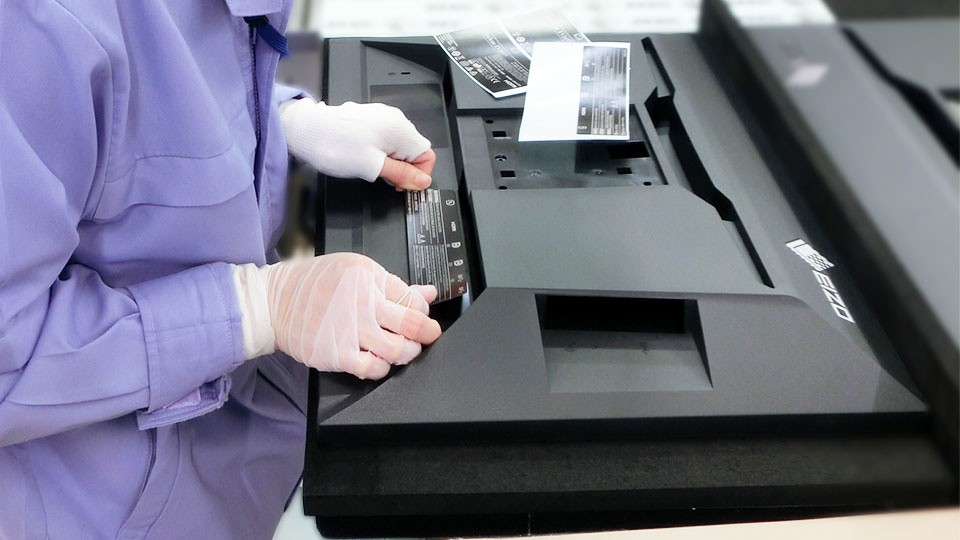
1.4
The nameplate seal (a sticker containing product information), the EIZO Logo, and relevant compliance stickers are added to the rear casing of the monitor. This is then attached to the rear of the LCD panel, completing the monitor.
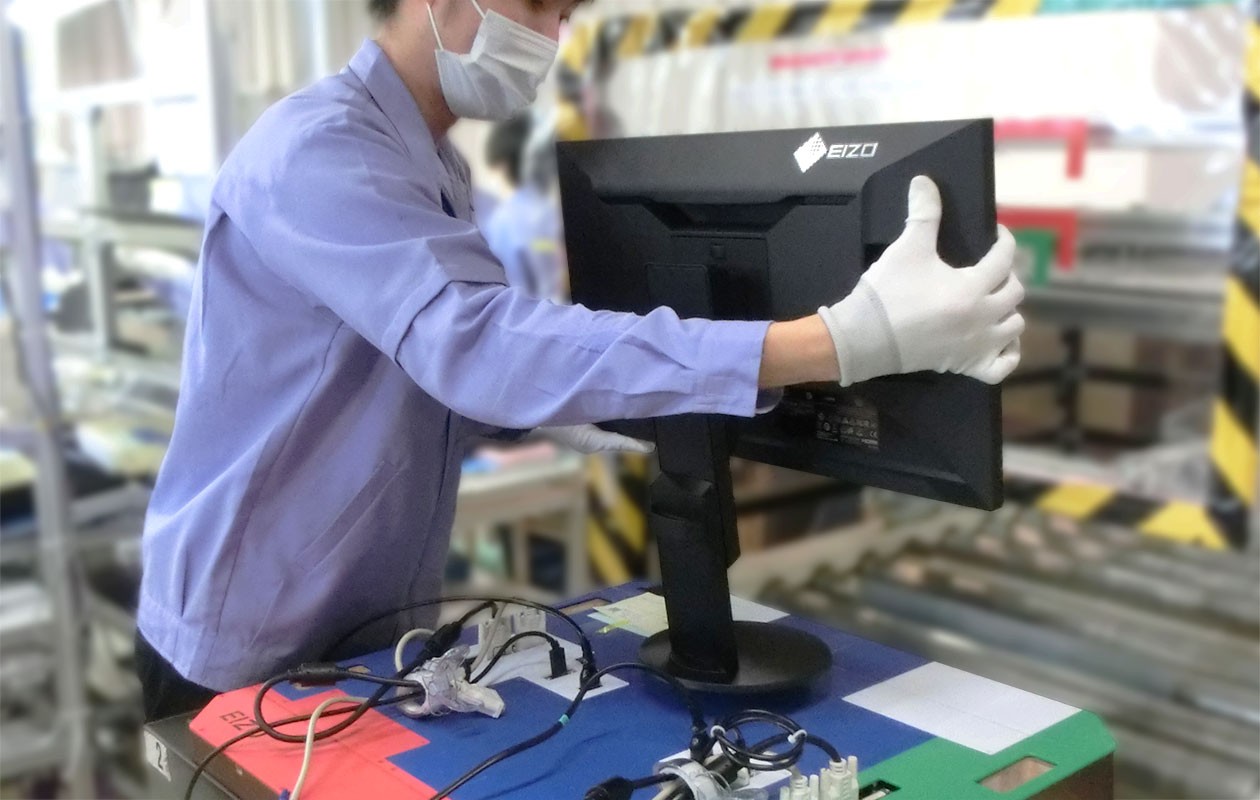
1.5
The stand, and stand base are then attached, and the monitor is placed on to a transportable pallet, and the power plugged in. This pallet will carry the monitor across the rest of its journey along the automated conveyor belt. The work progress barcode that was created during step 1-1, is now linked with the RFID chip inside the pallet. This allows the following steps to be done automatically.
2. Patience makes perfect: Aging
After assembly, the monitor automatically moves down a conveyor belt. An RFID (radio-frequency identification) tag about 3 cm in width is affixed to the palette on which each monitor is manufactured to ensure the following. The monitor can be identified by automated equipment and traced for improved quality control.
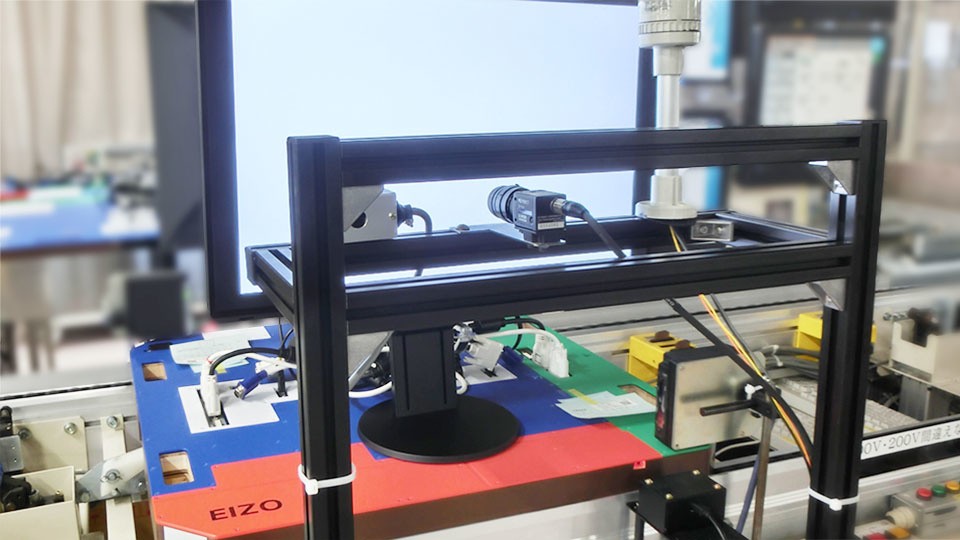
2.1
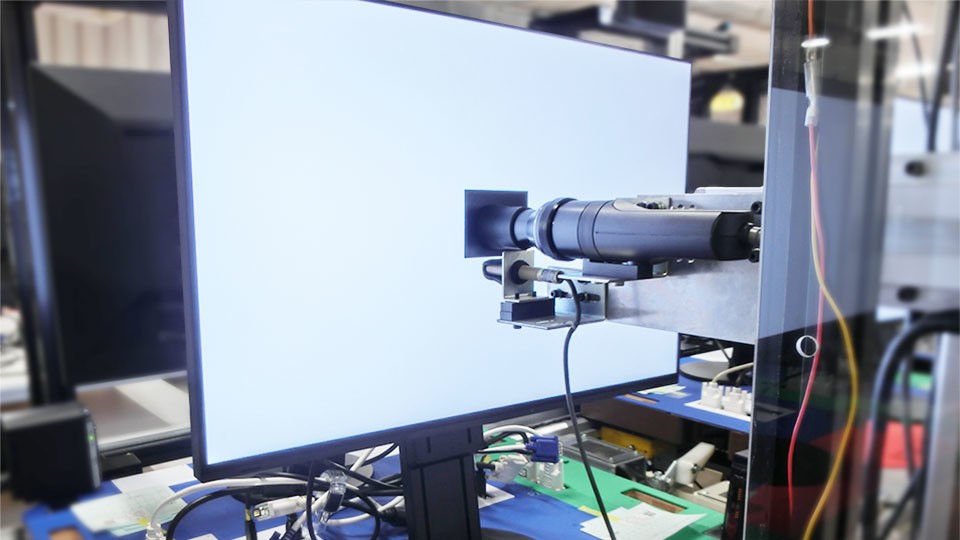
Certain models undergo an initial automatic screen check using a CCD (charge coupled device) camera, so if the RFID indicates that the model requires checking, the camera will automatically initiate the test. This initial check is to ensure that there are no outright faults in the LCD panel.
2.2
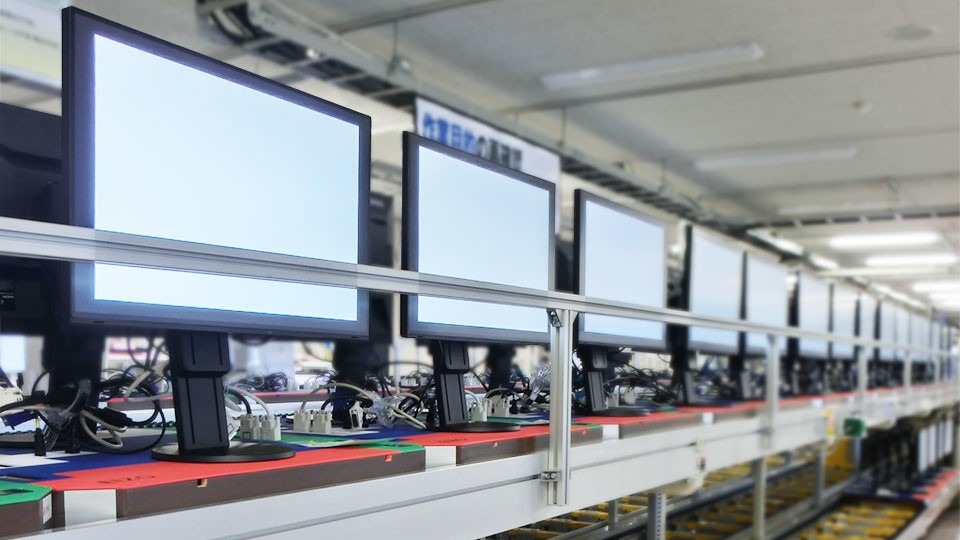
Following this initial check, the monitor moves down the conveyor belt, and is aged for a length of time depending on the model. This is done automatically according to how the conveyor belt robot has been programmed.
Aging is done to:
a. stabilise the colour and luminance
b. remove any initial faults
During aging, you can really notice the discrepancies in brightness between monitors that initially exists. In the following steps, these discrepancies will be removed.
3. Look me in the eye: Adjustment and inspection
After aging has finished, the conveyor robot automatically places the monitors onto the next conveyor for adjustment.
3.1
Here a camera tests the brightness, colour, and greyscale of each monitor and then adjusts the monitor to a standardised level.
If a monitor is unable to be adjusted for some reason, an alarm sounds and the conveyor belt stops until the monitor is removed.
If all the monitors are adjusted accurately, they move down the conveyor to the next stage.
3.2
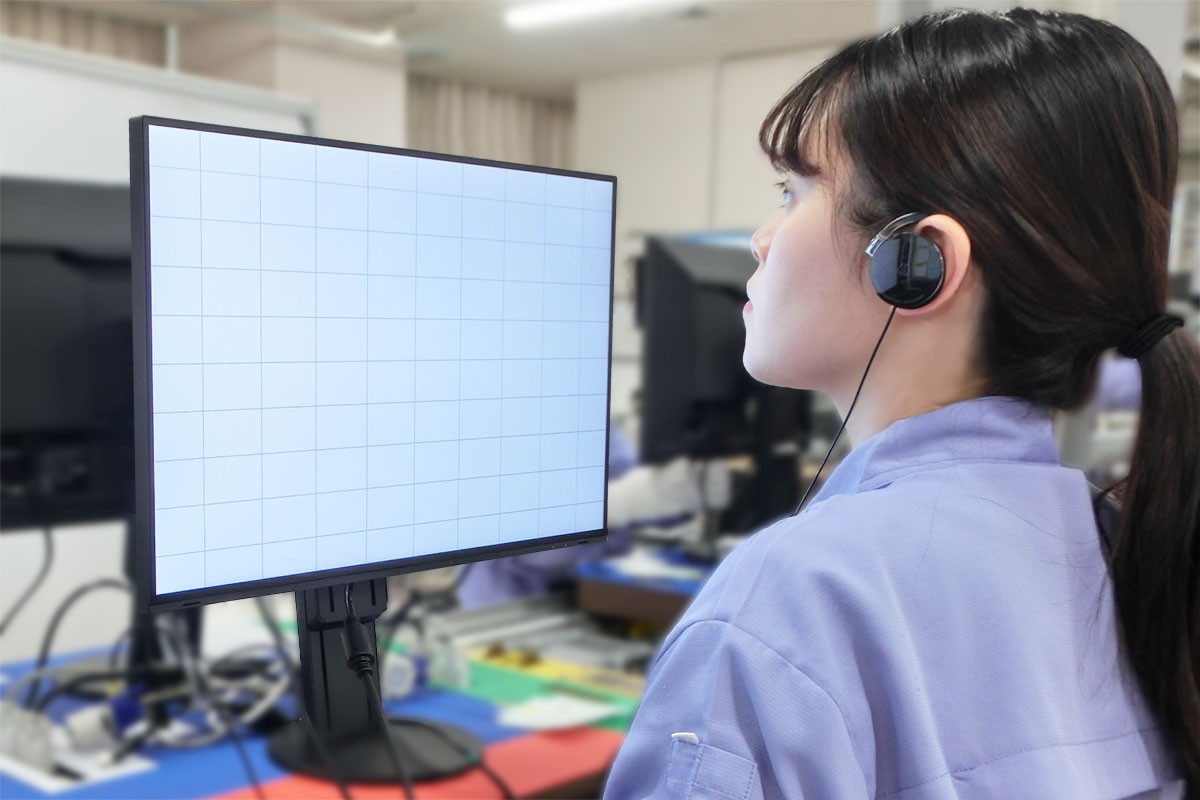
The next stage is EIZO’s famous ‘human eye’ test. Although automated testing by a machine is adequate for low greyscale tones, the human eye is still the best tool for judging whether midtones and hues are displayed properly.
Workers run the monitor through a variety of test screens and view the entirety of the screen to check for any discrepancies. The audio output is also checked by plugging in earphones.
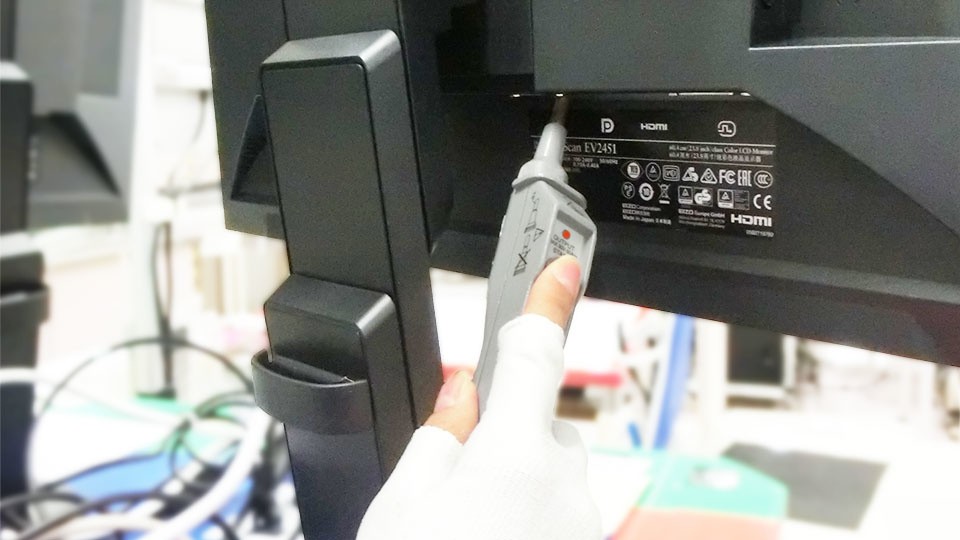
Finally the monitor is lightly tapped with a padded stick to ensure that the monitor can endure light shocks.
3.3
Next the monitor undergoes a variety of electrical safety tests according to international requirements such as CE and CCC.
These tests check that the monitor’s insulation and wiring is sturdy enough to not cause electrical shocks during power surges and daily use.
3.4
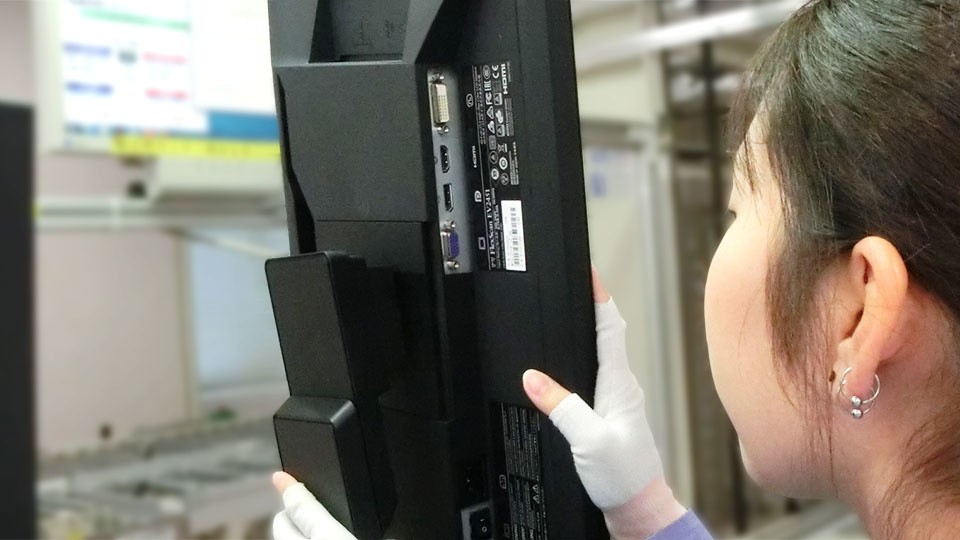
The monitor receives an outward appearance check. A worker looks for any issues with the cabinet, ensures that no pins are bent on the input terminals and checks that the monitor is clean and dirt-free.
The monitor’s serial number is then printed out, and attached to the name plate. This serial number is saved in our database, so that the monitor’s manufacturing history can be checked if problems arise in the future.
4. All aboard: Packing and shipment
Finally, the monitor is carefully prepared for packing and shipping.
4.1
Before packing begins, the accessory materials must first be prepared. These include the instruction manual, spare screws, warranty information and cables.
The instruction manuals are printed in-house using specialised printers which fold and staple the manuals automatically.
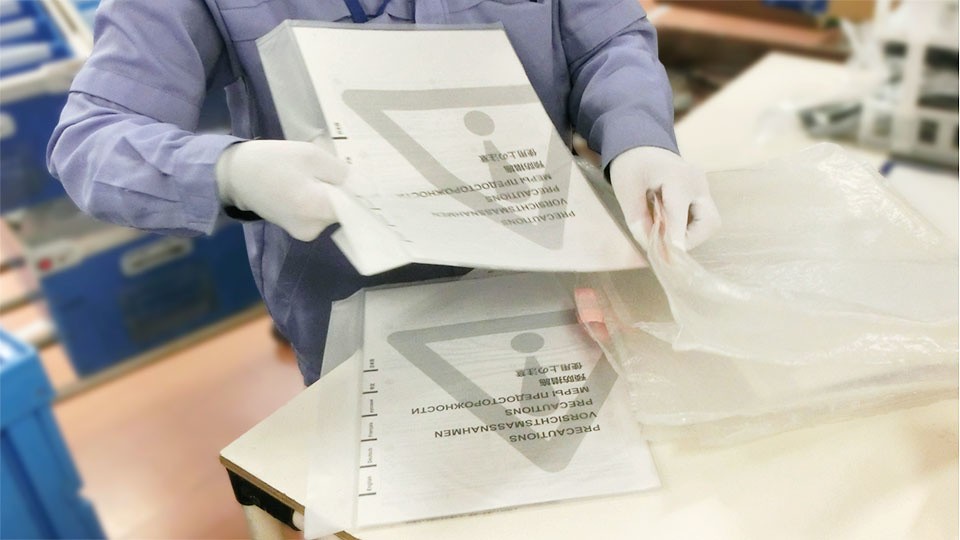
4.2
The manual and screws are then placed in a recycled bag along with the cables needed for the specific model and taken to the packing station. The bags will be emptied and returned after the accessories have been added to the box.
This double-packing ensures that no cables are forgotten and that the correct manual is added to the correct model.
4.3
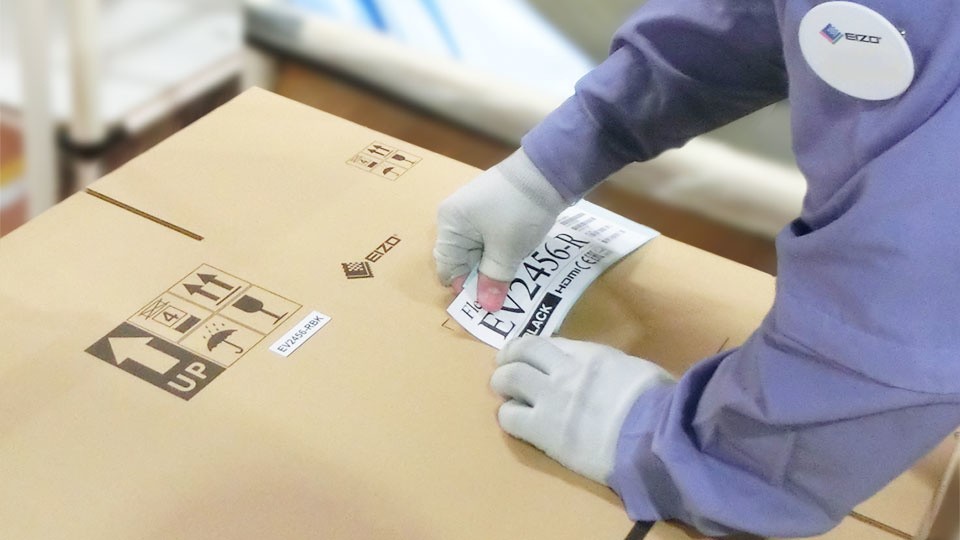
The automatic conveyor belt carries the assembled monitors to the packing station that corresponds to the model. The model name and serial are then printed onto a label which is placed onto the outside of the monitor’s recyclable cardboard box.
4.4
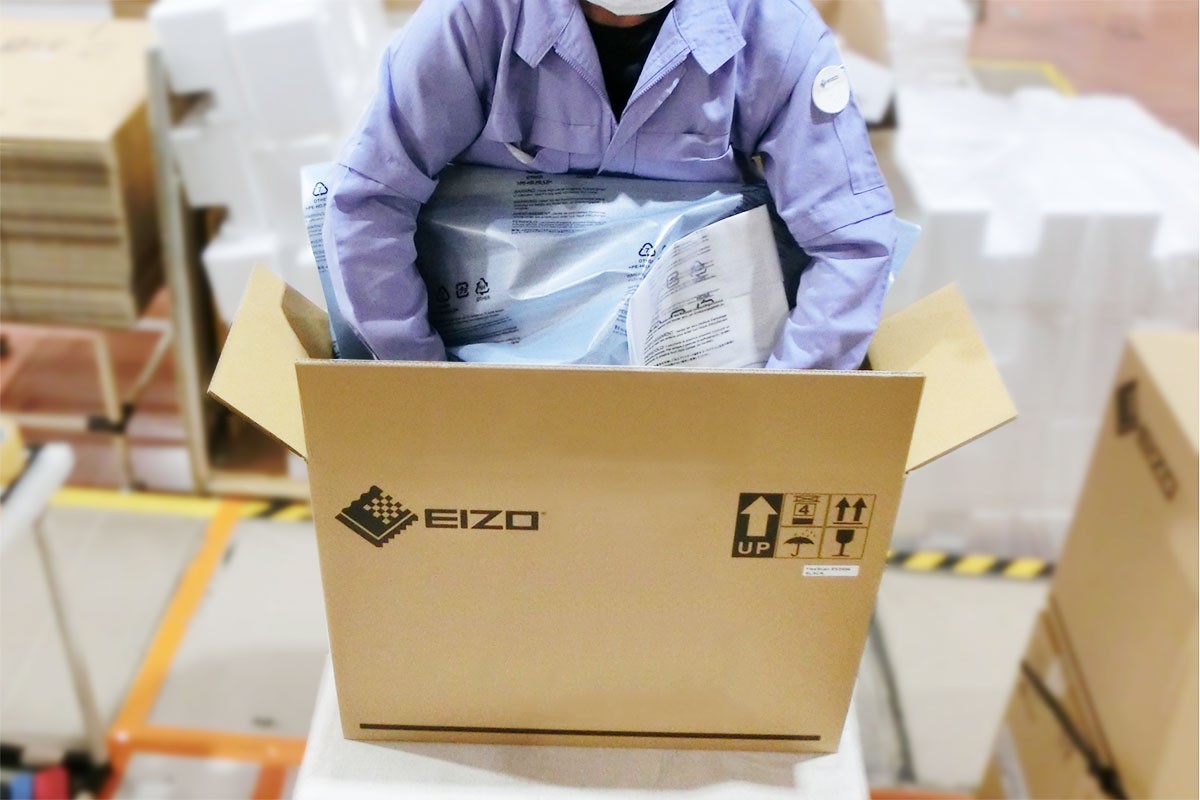
At the packing station the bottom of the box is then taped shut, and the bottom cushion is inserted. A protective foam sheet is wrapped around the base of the stand and a protective foam bag is placed over the screen.
The monitor stand is then gently pushed down to its lowest level and slowly placed inside the box.
4.5
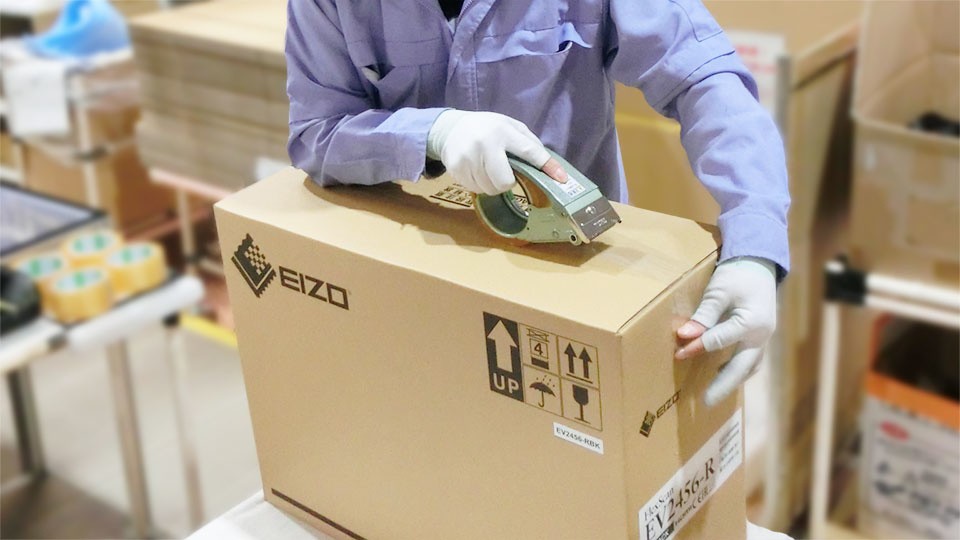
The manual is added next to the monitor and the top cushion is inserted to ensure that the monitor cannot move around during shipping. The cables are then placed inside the specific holes in the top of the cushion, the box is taped shut and added to a pallet.
The last steps only take approximately 30 seconds.
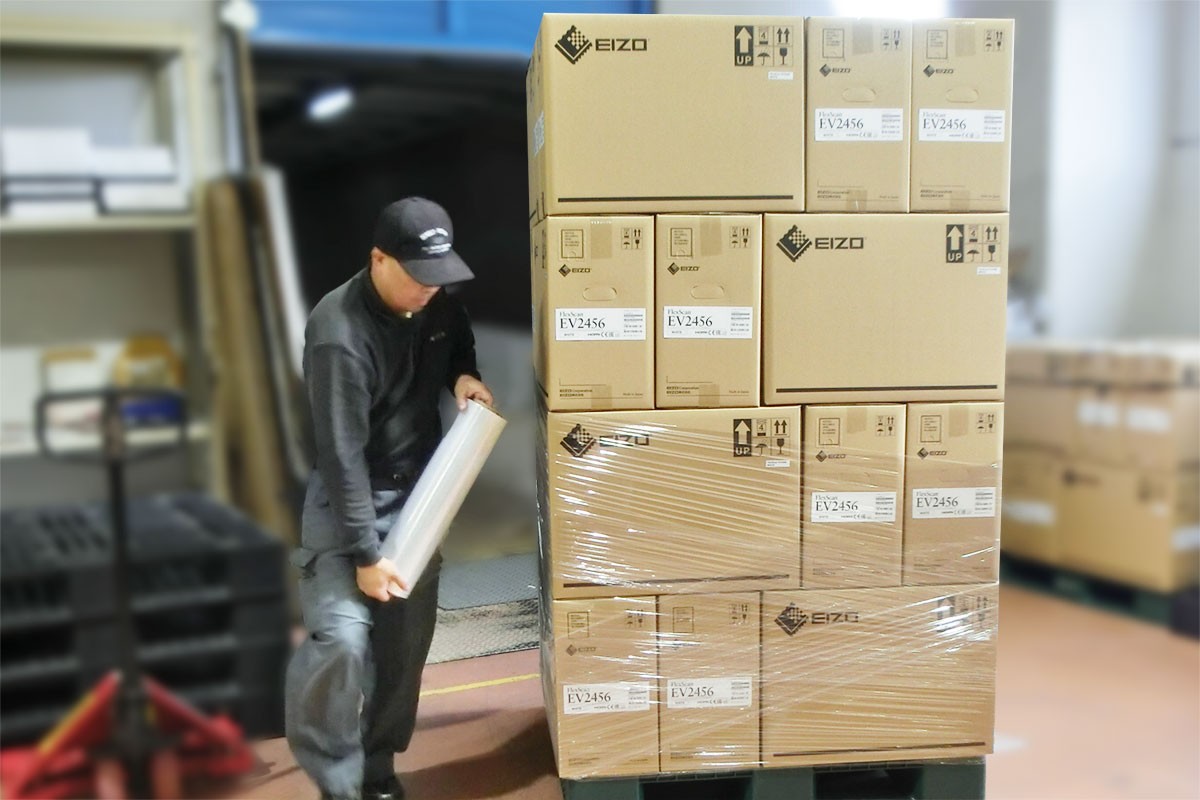
4.6
Once a pallet is full, it is wrapped in plastic and shipped off to begin its journey to the customer.

Environmental Commitment
EIZO strives to contribute to the sustainable development of our society by being conscious of the impact our business has on the environment.